WEDDING TECHNIQUES | HOW TO PHOTOGRAPH SPARKLERS AT WEDDINGS

WHAT IS A SPARKLER EXIT AT WEDDINGS?
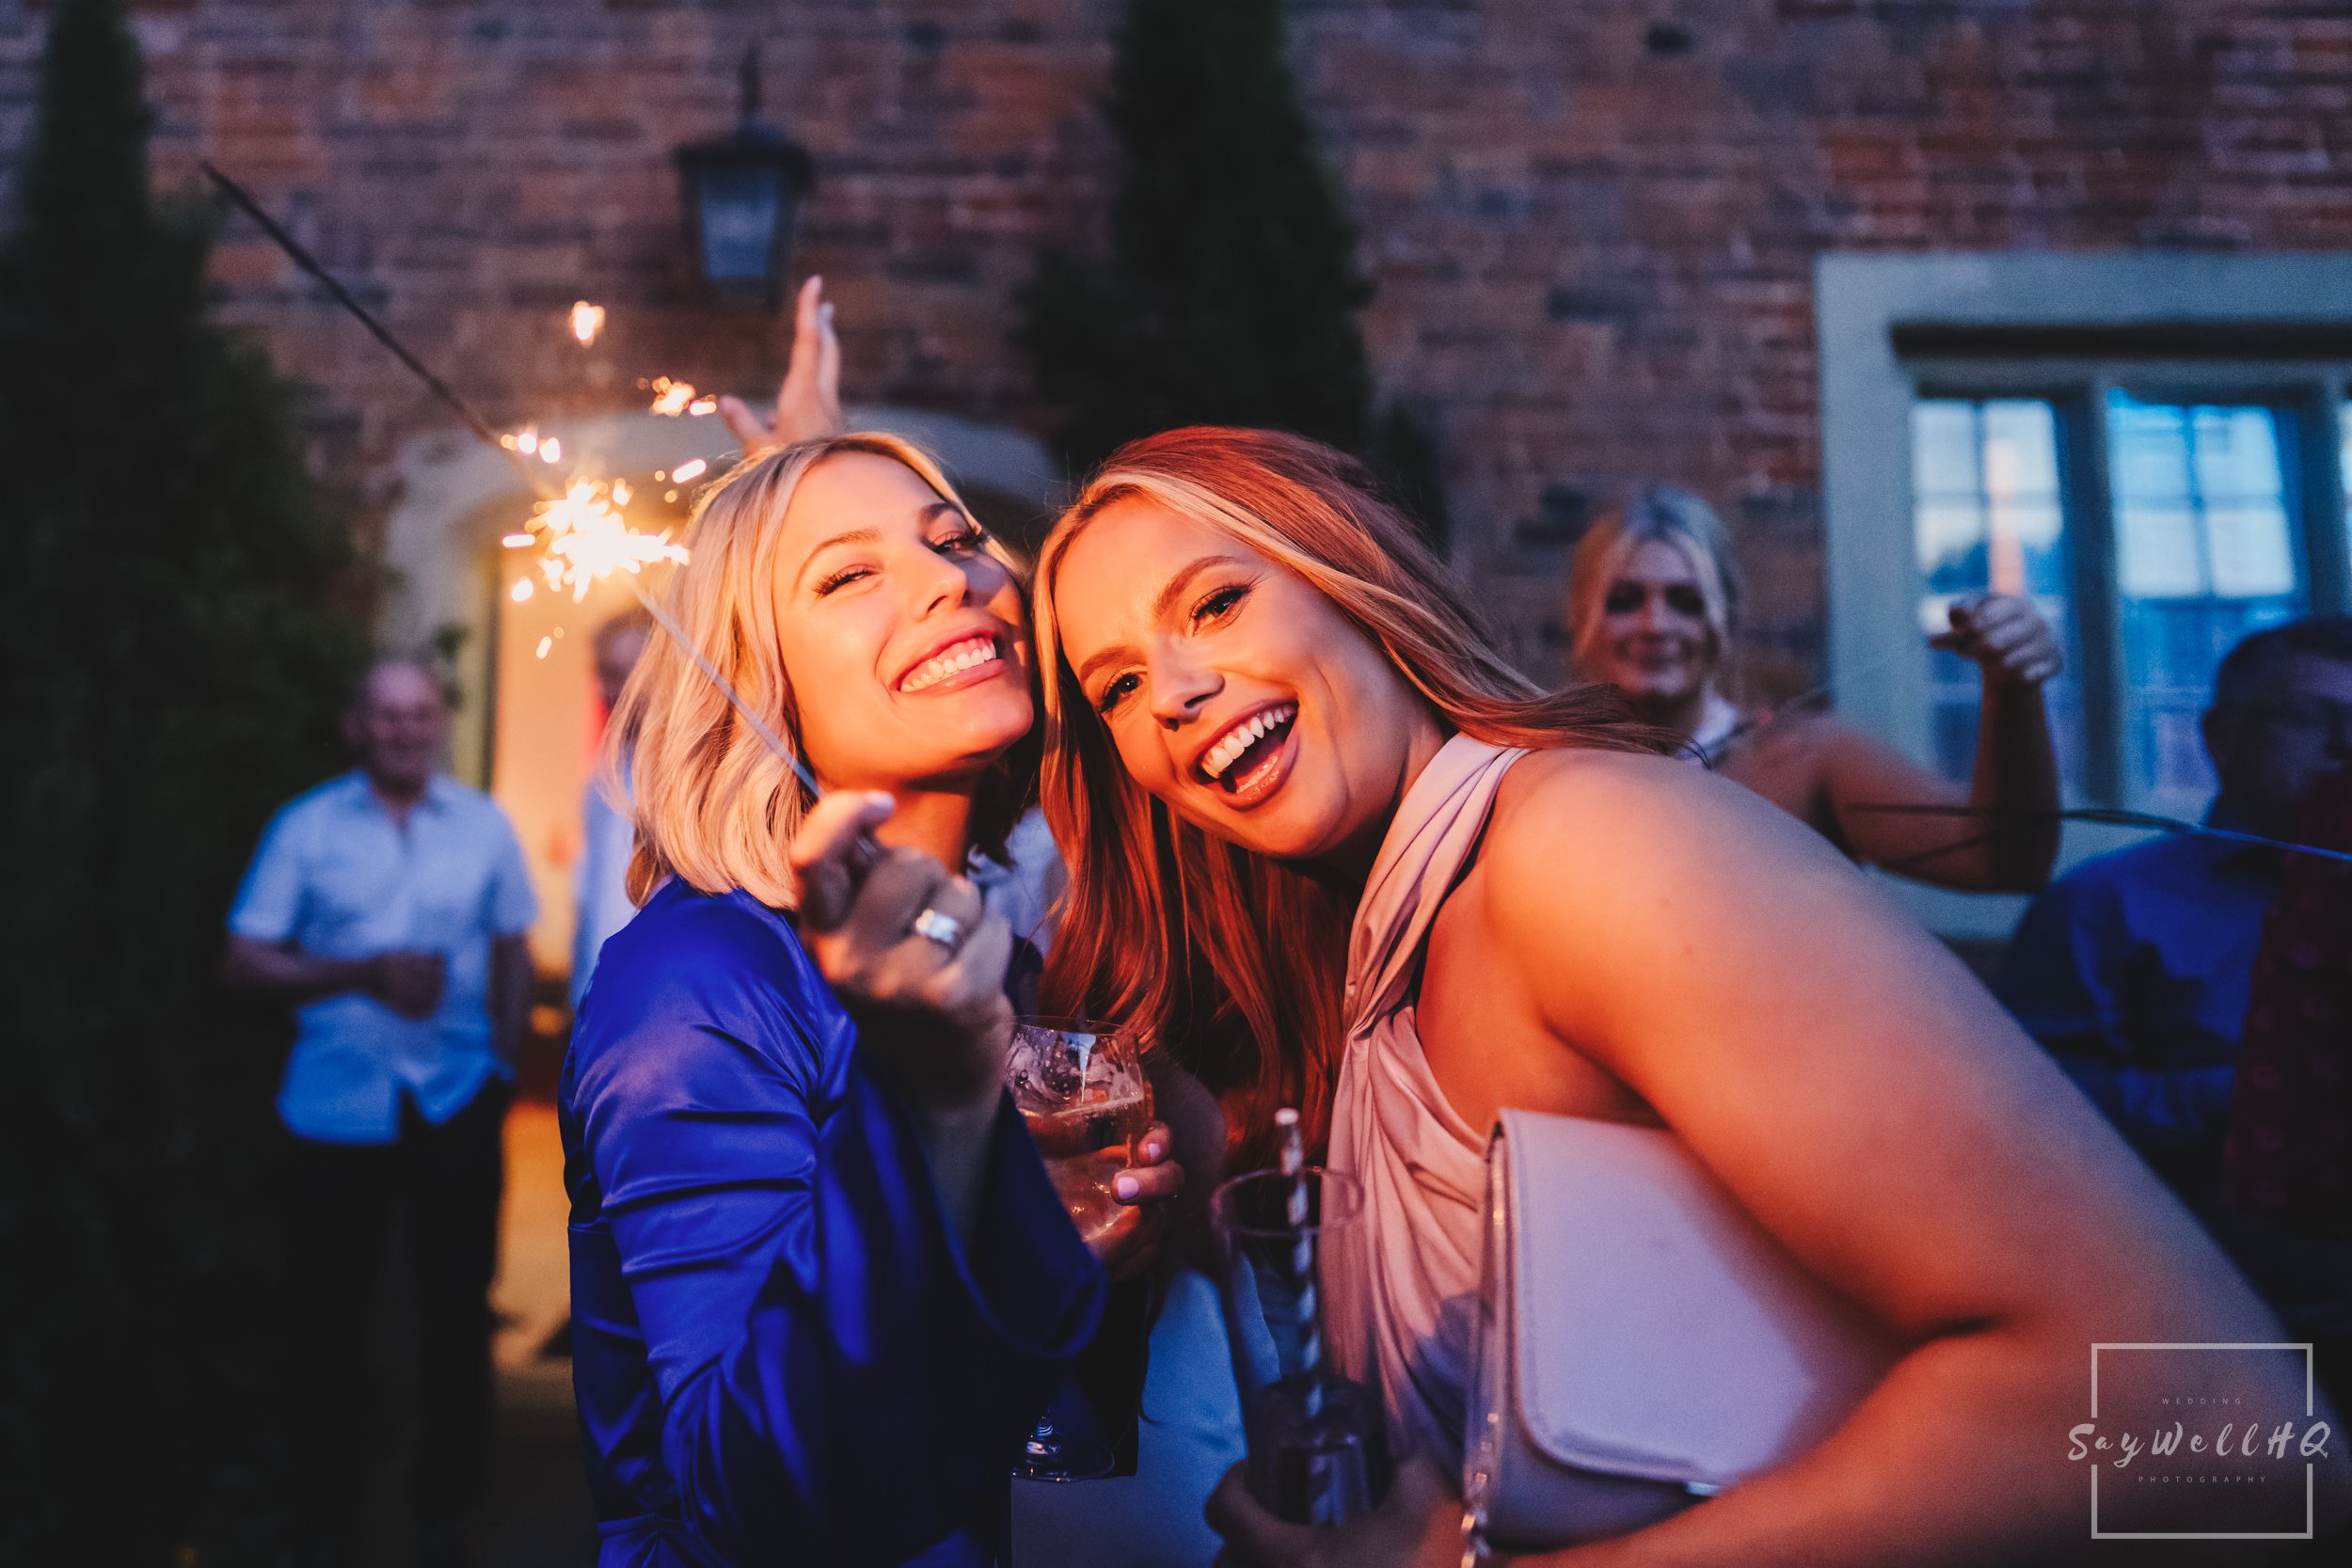
A sparkler exit is a magical and much-loved way for newlyweds to make their grand departure. Guests line up outside, sparklers in hand (or, as I like to call them, tiny sticks of fire!), creating a shimmering tunnel of light for the couple to walk through.
It’s not just a beautiful way to close the celebration—it’s also a chance to capture incredible, joy-filled photos, with all the laughter, sparkle, and energy of the night wrapped into one unforgettable moment.
REPEATABLE ACTIONS
From a photographer’s perspective, every wedding day is made up of repeatable moments—each with its own approach.
Over the years, I’ve built a rhythm: I know exactly which lenses I’ll use for bridal prep, the setup that nails the aisle walk, and the perfect combo for confetti and speeches.
Sparklers are no different. For every sparkler exit, I stick to the same camera, lens, LED light, and near-identical settings. That consistency means I can capture gorgeous sparkler exit shots time after time—and it frees me up to focus on the magic of the moment, not the technical juggling.
LIGHTING EQUIPMENT
When it comes to photographing sparkler exits, I steer clear of flash. It’s often too harsh and can wash out that gorgeous warm glow from the sparklers (though, to be fair, some might say I just need to up my flash game—and they’re probably right! 😆).
Sparkler exits happen fast—guests head outside, sparklers are lit, and the couple walks through—all in just a few minutes. That’s not the time to be juggling settings, directing guests, and fiddling with flash power. For me, it’s just too much faff.
Instead, I swear by a small, pocketable LED panel like the Lume Cube Panel Go (pictured below). These little lights are deceptively powerful, and because they’re handheld, I can quickly adjust the angle to keep the couple perfectly lit while preserving all the warm, ambient sparkle in the shot.

CAMERA & LENS
For sparkler exits, my go-to is the Sony 20mm F1.8 G. The extra width gives an incredible perspective of the couple walking through the tunnel of sparklers, while still showing all the surrounding guests and atmosphere.
Because I light the couple with a handheld LED panel, I need to be physically close—these lights simply aren’t powerful enough to work from 20 feet away. That’s why longer lenses like 35mm or 50mm just don’t cut it here.
If you’re photographing sparkler shots, I’d always recommend sticking with 20mm or 24mm. It keeps the couple beautifully lit, in focus, and surrounded by the full magic of the moment.

CAMERA SETTINGS
For capturing sparkler exits at weddings, I use a hybrid manual mode for exposure and a large single autofocus box in the center of the frame.
I avoid tracking AF so the camera doesn’t accidentally focus on someone else in the line.
I set shutter speed and aperture manually, letting Auto ISO handle exposure balance.
My settings:
Shutter Speed: Usually 1/200 to minimise camera shake while walking backward with the couple. If I need more light, I’ll drop to 1/160 or 1/125 (accepting a bit of motion blur).
Aperture: My go-to is F2—a good balance of light and subject isolation. If I want extra depth of field or more focus margin, I’ll go to F2.8.
ISO: Auto ISO, with a quick test shot to check it’s not climbing too high. I’m happy shooting up to 25,600 ISO on my A1s if needed, but if it pushes higher, I’ll slow the shutter slightly to keep noise down.
Why this works:
Keeps exposure consistent without fiddling with settings mid-exit.
Allows me to focus on composition and timing rather than constant technical adjustments.
Delivers reliably lit, sharp sparkler exit shots every time.
GETTING THE SHOT
Once the camera settings are locked in and the LED panel is cranked to full power, it’s time to capture the magic.
Lighting Setup
I hold the LED panel in my left hand, raised high and slightly to the side.
This angle avoids flat lighting and adds depth and shape to the couple’s faces.
Camera Handling & Composition
The camera stays in my right hand, and I use the rear LCD for framing.
With a 20mm lens, I have plenty of space in the frame—so even when the couple gets close, I rarely risk cutting off heads or feet.
Autofocus Strategy
I stick to a single large AF box, centered, to keep focus locked on the couple.
Eye AF is turned off (if I remember!) to stop the camera from jumping focus to guests nearby.
Capturing the Moment
I fire off plenty of shots during the walk—there’s always someone blinking, glancing away, or caught mid-step.
The more frames I take, the higher my odds of nailing that one perfect sparkler exit photo.

BONUS TIP - PICKING THE LOCATION
Often, wedding venues have a set location for the confetti or sparkler exit, and if that’s the case, you simply have to work with what’s given.
But if I’m given the choice, I always try to find a composition with some light in the background.
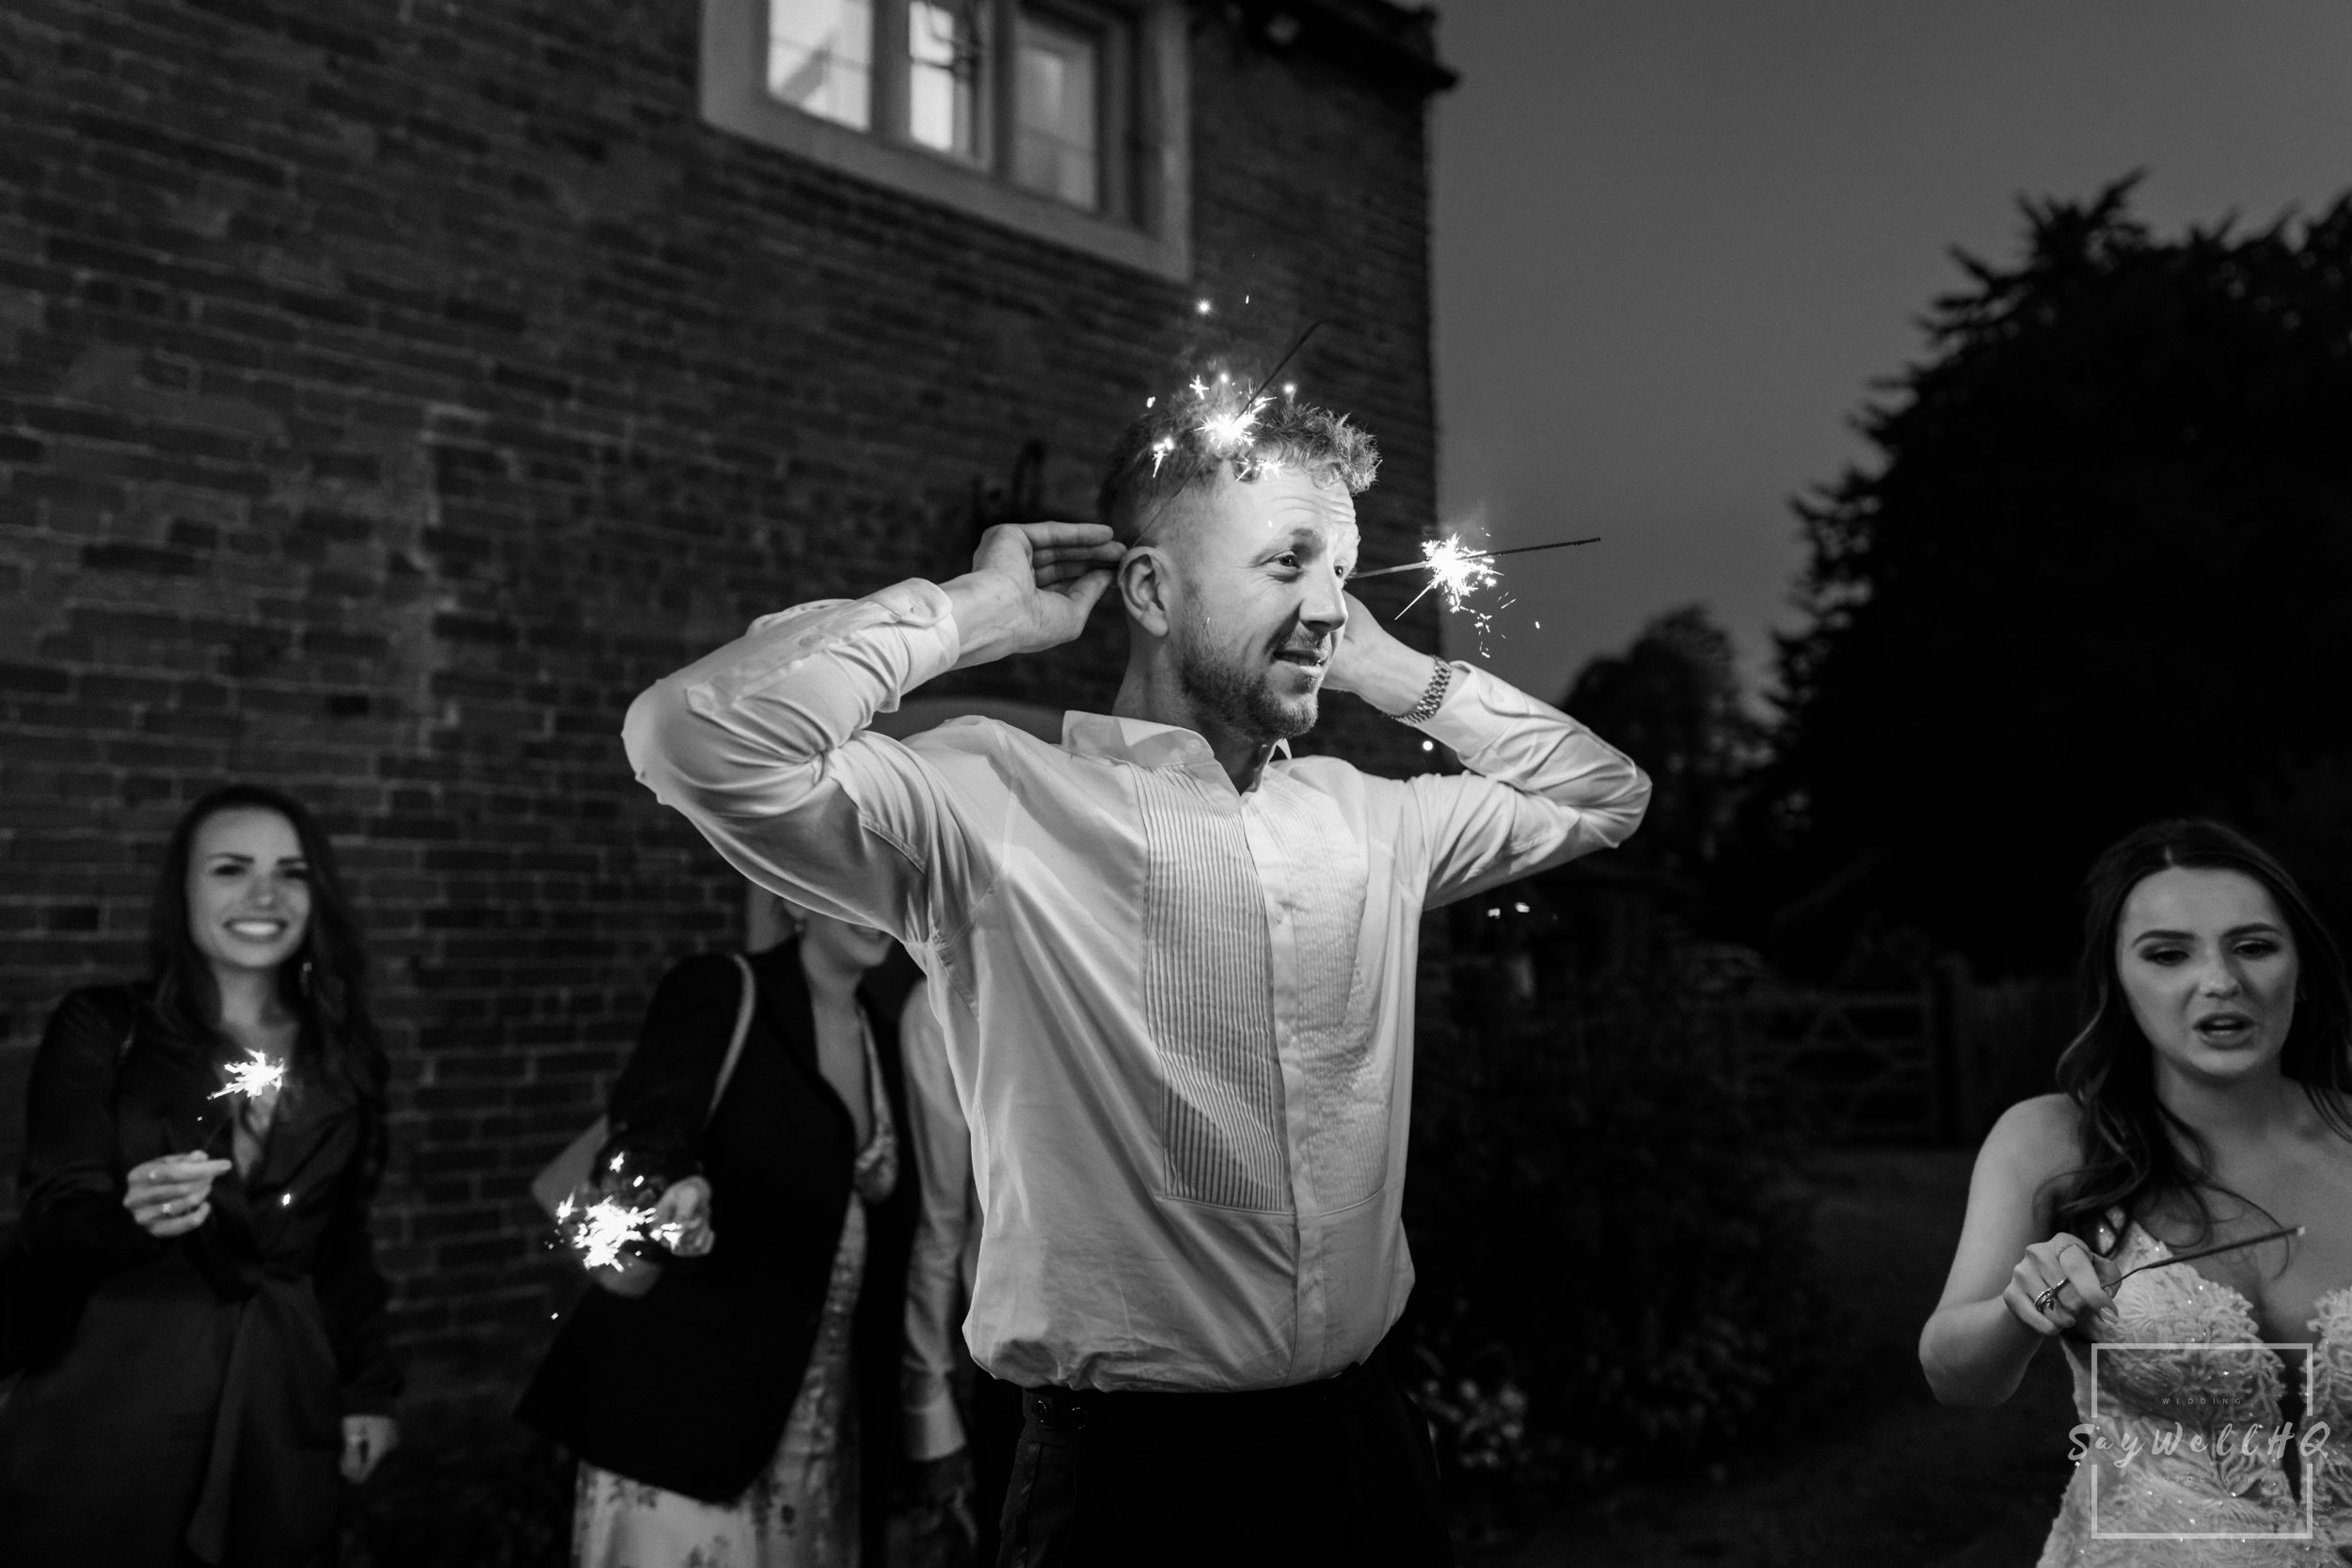
Take the example photo below—you’ll spot a light on the right-hand side of the couple. That was just a security light, but by positioning myself carefully, I knew it would catch the smoke from the sparklers, adding depth and texture to the image. Without that light, the guests in the background would have faded into darkness.
Using available light sources like this can transform a sparkler exit photo, adding atmosphere and making the shot more visually engaging.

BONUS TIP - MANAGING PEOPLE
Little fire sticks and tipsy wedding guests—what could possibly go wrong? 😆
Sparklers are a blast and make for amazing photos, but they do come with a little risk.
As the photographer, your job is to capture the moment, not to manage the sparklers. You can suggest where guests should stand and remind them to give the couple space as they walk through—but that’s where your responsibility ends.
Never take charge of lighting sparklers or instructing guests on how to hold them. If someone waves one a bit too enthusiastically or gets too close to another guest, that’s on them—not you. The last thing you want is to be blamed for any mishaps.
Instead, be friendly, grab a few shots of guests waiting with their sparklers, and let the venue staff handle the logistics. If anything does go wrong, it’s their insurance—not yours!
BONUS TIP - THE STOP AND KISS
Before the couple begins their walk through the sparkler tunnel, I always give them a couple of quick tips:
Keep it steady – Walk at a relaxed, comfortable pace. There’s no need to rush—it’s not a race to the end! The slower the walk, the more chances I have to capture great shots.
Pause for a kiss halfway – When they reach the middle, I ask them to stop for a quick kiss. This serves two purposes:
It creates a stunning, still moment with the couple framed perfectly by their friends and family.
It gives me a “safety shot” in case something went wrong with the walking sequence (soft focus, awkward expressions, etc.).
A little direction at the start goes a long way to ensuring we get both the dynamic walking shots and the intimate, romantic sparkler moments.
